Evolve IT Data Lineage
Dashboard Data Lineage
This document will cover the basics of the CM EvolveIT Dashboard Data Lineage. Data lineage can be represented visually to discover the data flow/movement from its source to destination via various changes and hops on its way in the enterprise environment, how the data gets transformed along the way, how the representation and parameters change, and how the data splits or converges after each hop.
1. Log in to the dashboard with a valid dashboard user id.
There is a built-in administrator that can be used for setup initially.
Built-in administrator (Default Password is ‘admin@1234!’)
Once logged in the dashboard view will display.
2. Data Lineage First Usage.
First Usage
The first usage of "Data lineage" screenshot is shown below. To get access, use the link as shown in the screenshot

3. Data Lineage Field Search.
Choose Field Search option under Data Lineage. There is an option to create new search criteria or view the existing criteria.
Red - Indicates the option to create new search criteria
Violet - Search option for existing search criteria
Green - Indicates the option to view and delete existing search criteria

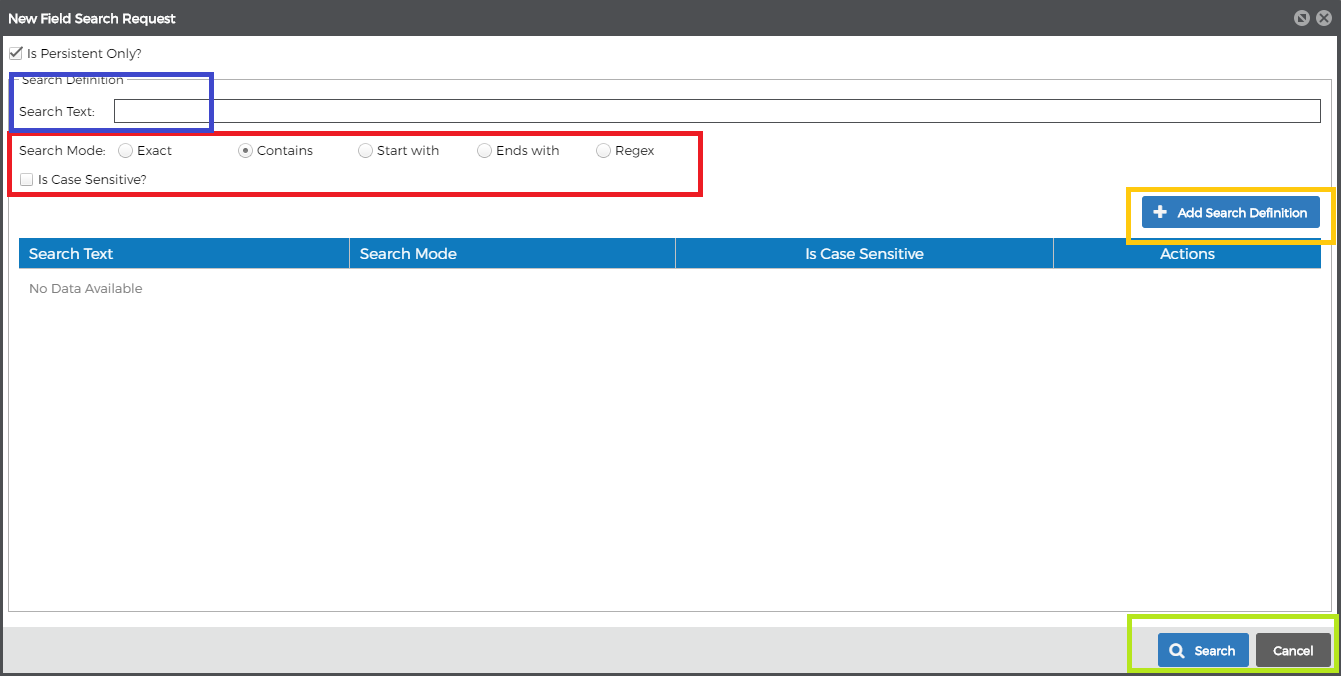
Enter the search criteria with search mode as Contains, Exact, Starts with, ends with, and regex options. Click the Search option to list the fields satisfying the criteria.
Red - Indicates the option search mode(Contains, exact, Starts with, ends with, and regex options.)Violet - Indicates the option to enter new search textGreen - Indicates the option search for the criteria added
Yellow - Indicates the option to add the search definition

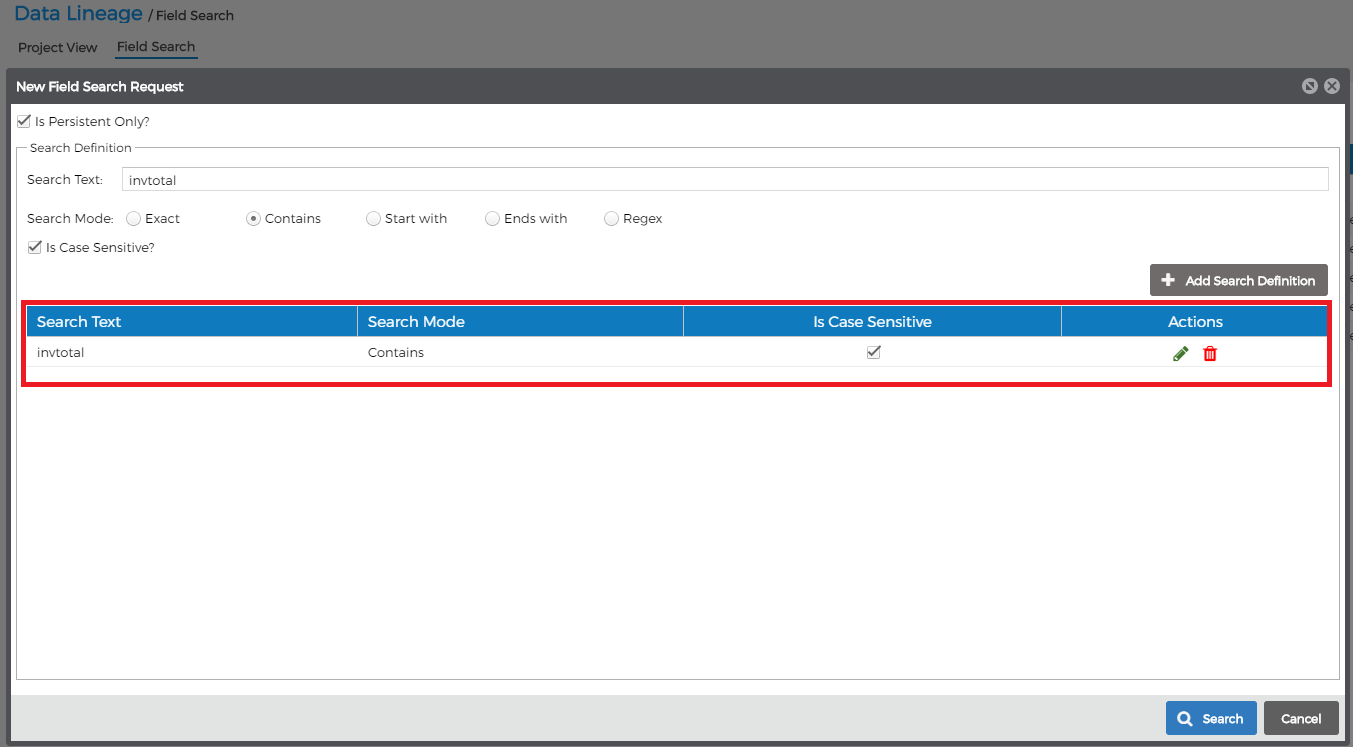
Highlighted in red shows the new record added after adding a new search definition.
The newly added record can be modified or deleted. Choose search after adding/modifying
the necessary criteria

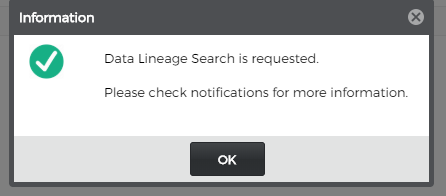
The popup shows that the search is requested.
Highlighted in black shows the option to view the project or delete

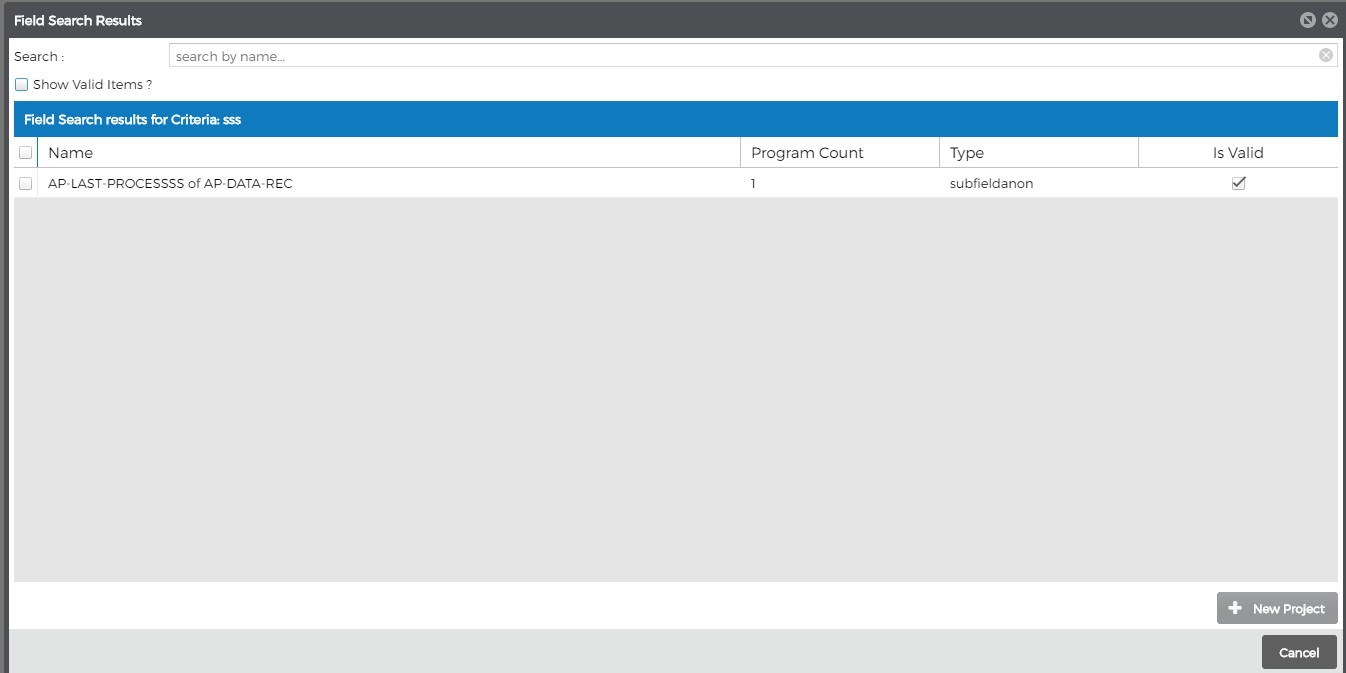
Clicking on View option, open the below pop up screenshot

Clicking on View option, open the below pop up screenshot
4. Data Lineage Project View.
Create Project:
Choose Project view option under Data lineage. There is an option to create a New Project from the project explorer.
Click on New Project button as highlighted to create a new.
Enter the project name and fields that need to be analyzed.
Red - Enter the new project name
Green - To add field search criteria that were created above
Violet - To add the new Project
Click Add Field for selecting the necessary fields.
Violet - Field search(search criteria). Can select any field search criteria option to the project
Red- Add button to add those selected
Pop up with created message was displayed.
The new project was listed as shown in the screenshot. Click on Eye Icon to View the Project
View Project
Search for the project and click the View project option(Eye Icon).
List of Fields with options to Run(play icon), Edit and delete as highlighted
There is an option to Run the process by clicking the Play icon. Once the process completes the running, there is an option to show the result.
There is also an option to Edit the fields added to the project.
Graph Viewer will be displaying the usage of the fields selected in the project.
Click on each data record to get the information like Program name, Item Type as highlighted in Red
Double click on the data record to get the analysis information on a separate tab as highlighted in Red
Related Articles
Select Data Unit
This document will cover the basics of how to find and select the data that will be displayed in the dashboard. Every authorized user has access to one or more data units to display. After completing this document, you should be able to various ...Evolve IT Dashboard
This document will cover the basics of the CM EvolveIT Dashboard. There will be a review of the different parts of the dashboard, how to customize the dashboard for personal viewing. After completing this document, you should have a basic ...Evolve IT Administrator
Dashboard - Administrator This document will cover the basics of the CM EvolveIT Dashboard managing users in CM EvolveIT mode within the dashboard. This document will discuss creating, deleting, changing users and user passwords. After completing ...Evolve IT Asset Browser
This document will cover the basics of the CM EvolveIT Dashboard Asset Browser. There will be a discussion of the different options available in the dashboard Asset Browser. After completing this document, you should have a basic understanding of ...Evolve IT Configuration
Dashboard - Configuration This document will cover the process to set up email information within the CM EvolveIT Dashboard. The email information is used to email new users and for a password reset when running CM EvolveIT in Authentication Mode ...